

🔹 Step 1: Create a workspace in Intuit developer portal.
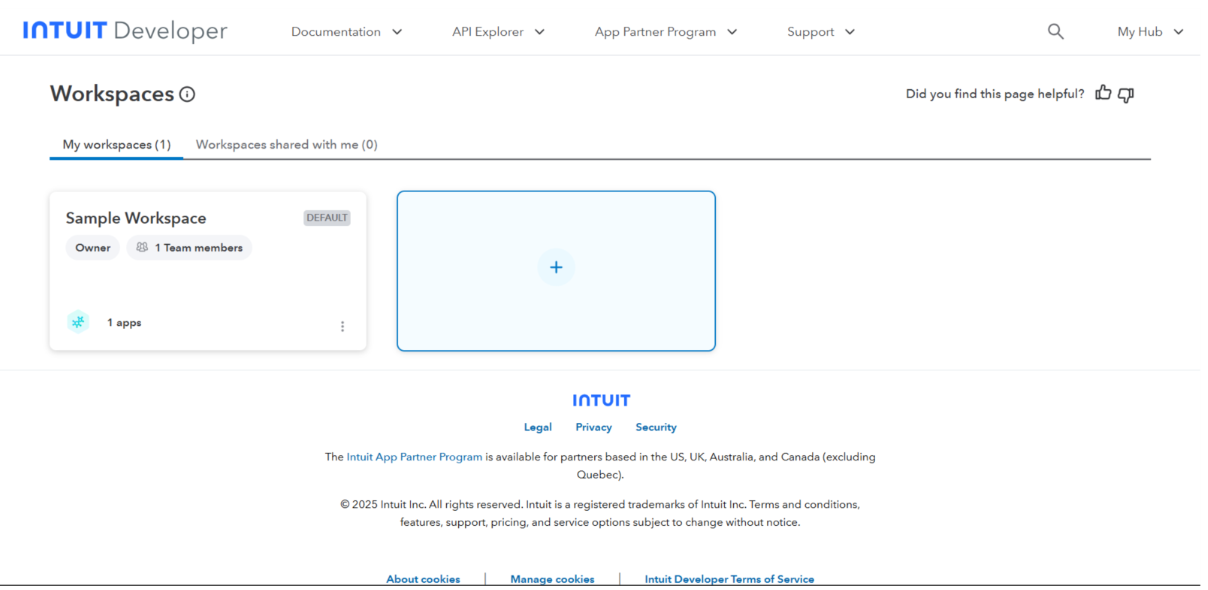
- Go to: https://developer.intuit.com/app/developer/homepage
- Login in with your creds.
- From top right corner select my hub —> workspaces —> +
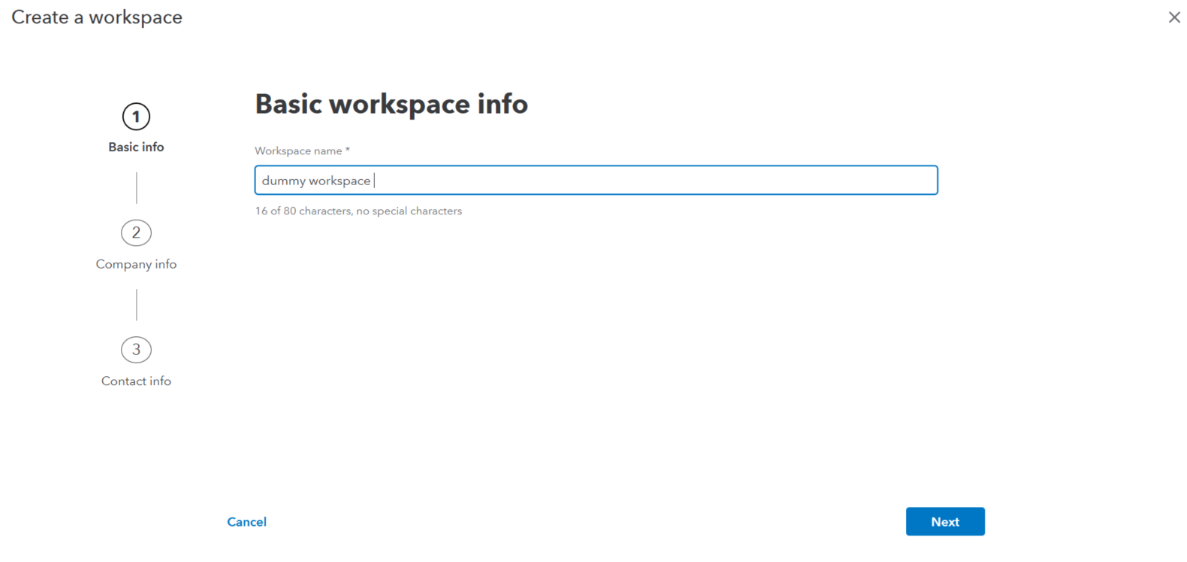
- Enter the workspace name (example: Axoma Quickbooks Integration)
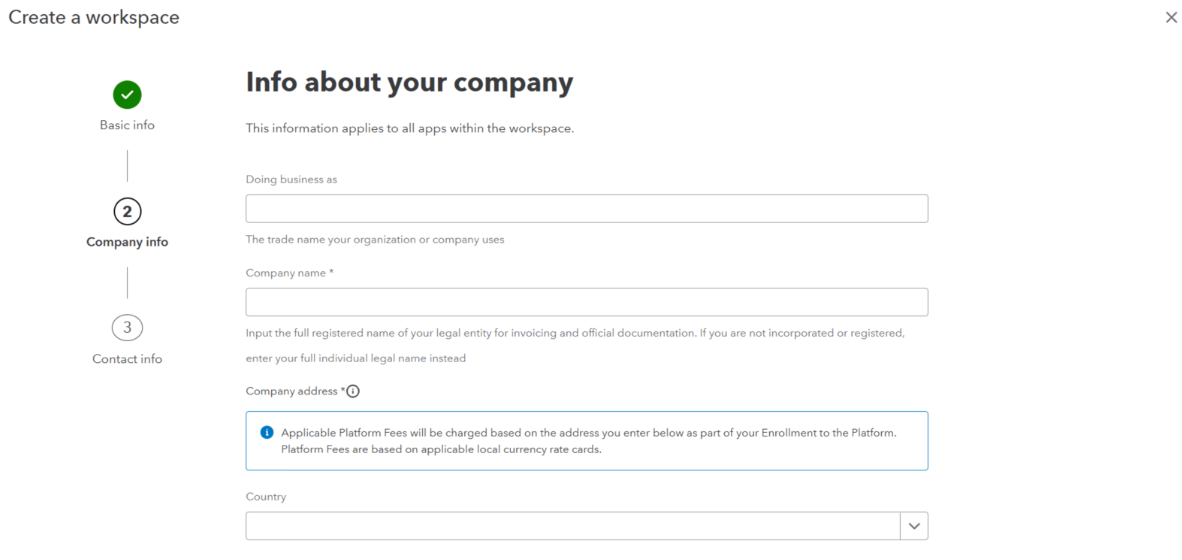
- Add your company details.
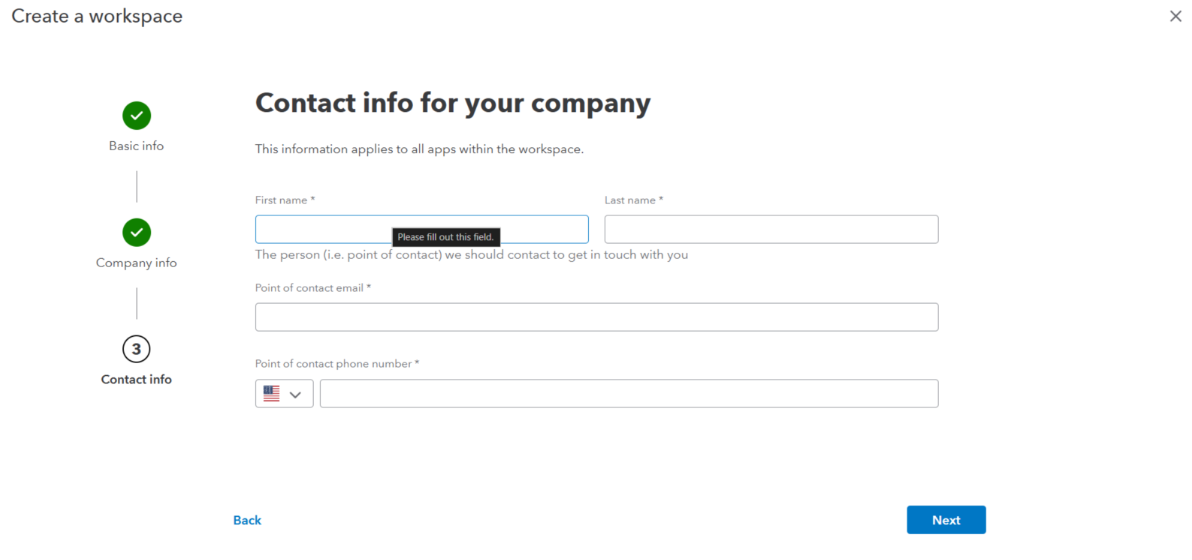
- Add company contact persons details.
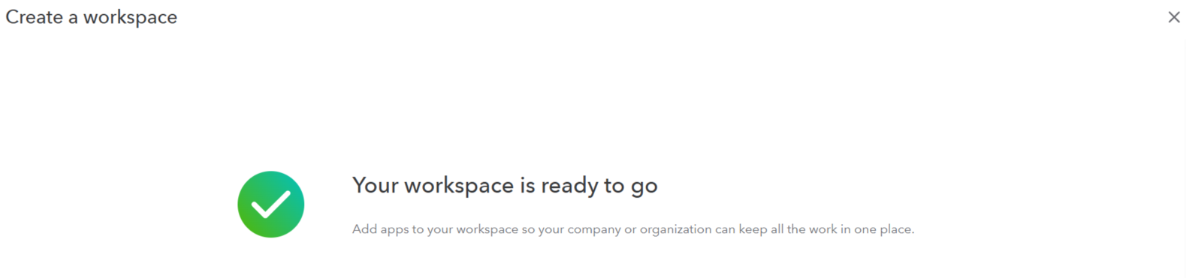
- Click Next
- You will see a success screen
🔹 Step 2: Create App and Required Credentials
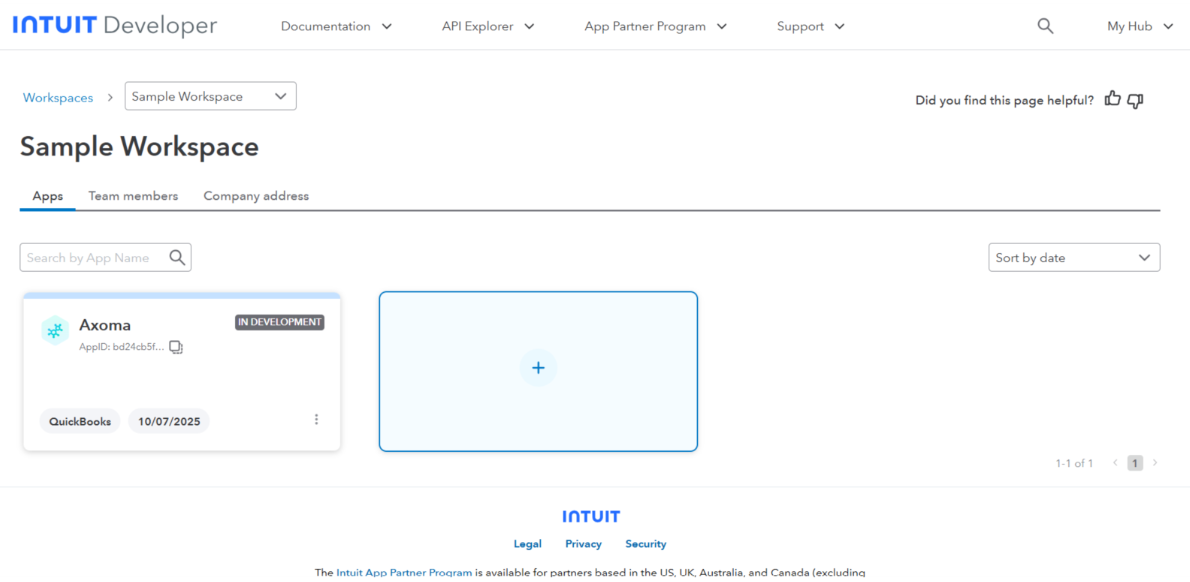
After successful workspace creation, select the created workspace and create app.- Click on “+” to create an App.
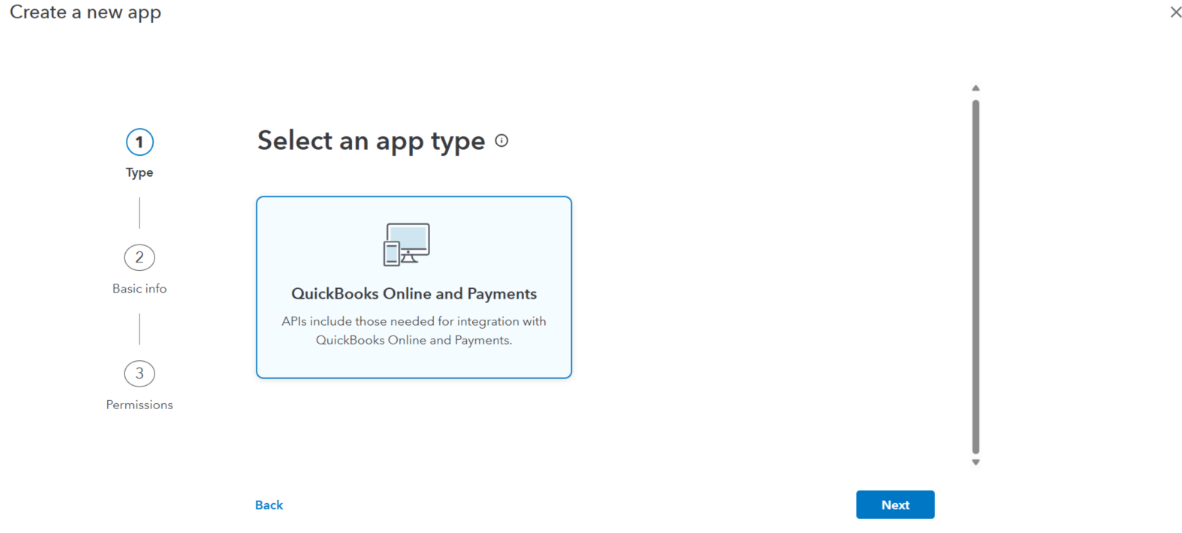
- Select app type and click next.
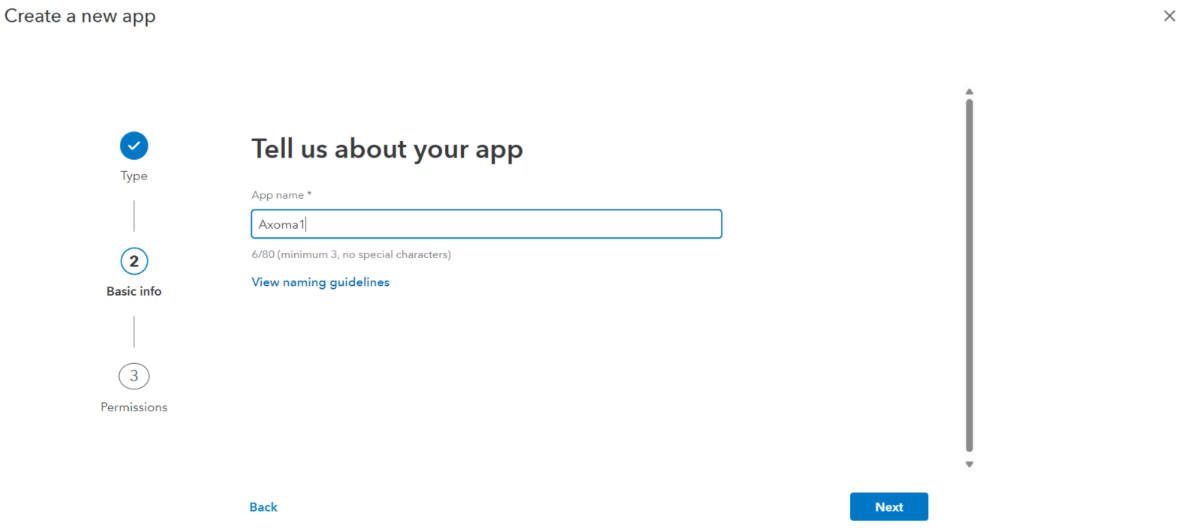
- Add app name.
- Add the required permissions as shown below.

- Confirm the permissions.

- App created successfully. Now toggle show credentials to get the client id and client secret. And copy them.
🔹 Step 3: Add settings like redirect URI
- Select the desired APP.
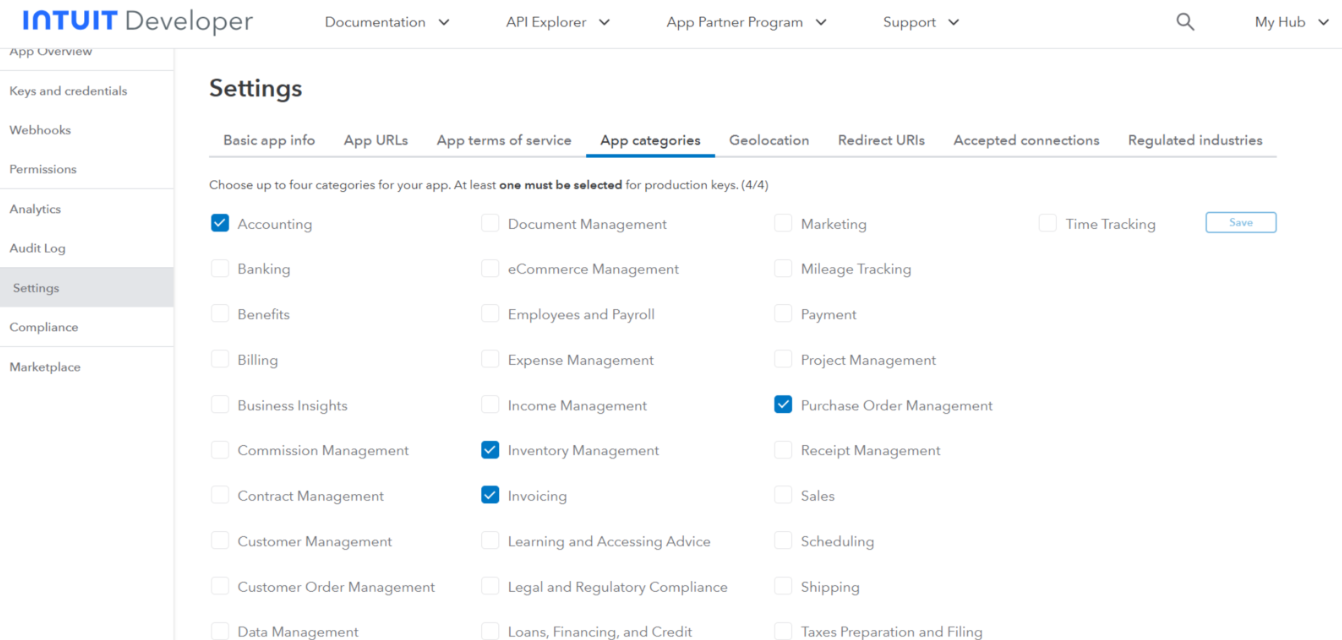
- From the left corner select Settings —> App Categories.
- Check boxes in front of Accounting, Inventory Management, Invoicing, Purchase Order Management.
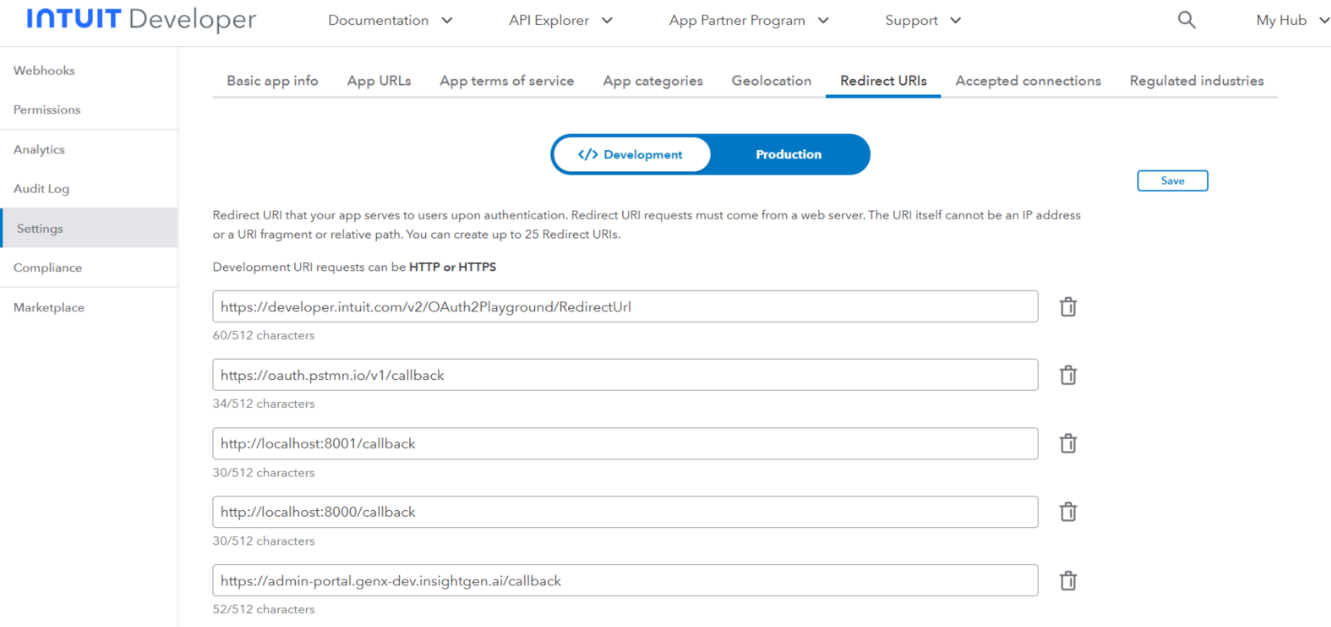
- Now select Redirect URIs add https://admin-portal.genx-dev.insightgen.ai/callback and click Save.
🔹Step 4: Configure in Axoma Agent Studio
- Navigate to Step 2 ➜ Tool Selection.
- Select QuickBooks
-
Enter:
- Client ID
- Client Secret
- Environment
- Proceed to Step 3 and enable the required toggles/features
- Go to Step 4 ➜ Try & Publish
- Provide a valid LLM gateway Key.
- Test with example prompts
| Use Case | Example Prompt |
|---|---|
| Fetch all the available customer details | List Customers. |
| Create a new customer | Create a new customer with display name P&C Services. |
| Get details of vendor/customer | Give me details for customer P&C Services. |
| Update customer details | Update the address details for customer P&C Services. New address will be 5396 North Reese Avenue, Fresno CA 93722 |
| Get Invoice details. | list all invoices for customer P&C Services (103). |
Outcome
Once the setup is completed:- Users can Create customer/vendors update their details.
- Can create invoices and purchase orders also the details can be fetched and updated.
- For utility functions unpaid bills can be fetched with details, list of line items can be fetched.
- Enables seamless collaboration inside the Axoma platform