Skip to main contentThis section provides a detailed walkthrough for configuring OAuth credentials for each supported tool integration within
the Agent Management service. Follow the step-by-step instructions to securely authorize and enable access to platforms like
Google Drive, ServiceNow, Jira, Salesforce, and more. Completing these setups is essential to allow agents to perform actions
such as reading data, writing updates, and executing cross-platform operations in real time.
1. Steps to Set Up OAuth in Salesforce
Create a Connected App
- In Salesforce, go to Setup.
- In the Quick Find box, enter Apps and select App Manager.

- Click New Connected App to create a new app.

- Fill in the required fields, including the Connected App Name and API Name.

Enable OAuth Settings
- In the connected app settings, check the box for Enable OAuth Settings.
- Specify the Callback URL (this is the URL where Salesforce will redirect after successful authorization). Ensure it uses HTTPS.
- Select the OAuth Scopes that define the level of access your app will have. Common scopes include api, refresh_token, and full.

Choose the OAuth Flow
Depending on your application type, choose the appropriate OAuth flow. Common flows include:
- Authorization Code Flow: For web applications where users log in and authorize access.
- Client Credentials Flow: For server-to-server communication without user interaction.

Save & Manage Consumer Details
 You may need to verify your identity to access these details.
2. Steps to Setup OAuth in Servicenow
- The first thing you need to do is register a new OAuth application. In your ServiceNow PDI,
search for oauth. Under System OAuth, click on Application Registry.

- This will open up the application registry, where you have to click on New and then click the
option Create an OAuth API endpoint for external clients.

- Fill in the name of the application and following redirect URL.
Redirect URL - https://axoma-ui.genx-dev.insightgen.ai/callback

- Your application will now show in the list of OAuth applications

- Click on OAuth Incidents Demo to see the details.
Copy the client ID and the client secret as you’re going to need to use them later

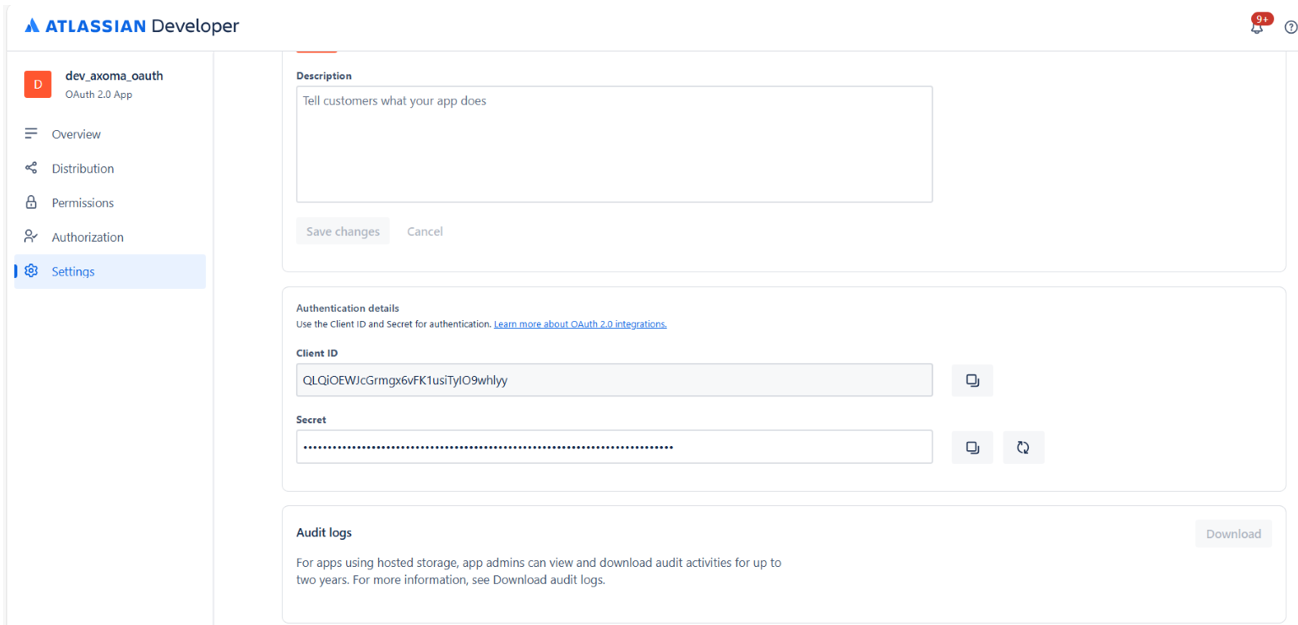
3. Steps to Setup OAuth in Jira
- Visit following URL – https://developer.atlassian.com/console/myapps/
- Go to your apps and click on create an app and select OAuth 2.0 (3LO) integration.

- Enter name of your app and and create

- Click on Authorization and then on add

- Then enter callback url present at Axoma’s Agent Development Step 2: Tools & Integrations


- After saving changes click on add API’s

- Click on add button for jira API.

- After clicking on add click on configure and then give permissions
to all scopes by clicking on edit scopes.